We can save images to localStorage using JavaScript and load them to the web page without any server. Even if you don't have an internet connection, you can get the images from localStorage and display them.
There are 3 steps to store an image in the localStorage in JavaScript:
- Step 1: Get the image file from the
<input>element by listing to thechangeevent. - Step 2: Use
FileReader()constructor function to convert the image file into a data URL. - Step 3: Save the data URL string to localStorage with the
setItem()method in JavaScript.
Following these steps, you can save a single image to the localStorage. But if you need to store multiple images, you can also do that.
Save an Image to localStorage Using JavaScript
You have seen 3 steps that you need to follow. Now we will discuss those steps in detail with examples.
Here is the HTML file for our example.
          <!DOCTYPE html>
<html lang="en">

<head>
    <meta charset="UTF-8">
    <meta name="viewport" content="width=device-width, initial-scale=1.0">
    <title>Save Image to localStorage</title>
</head>

<body>
    <h1>Save Image to localStorage</h1>

    <div>
        <img id="preview" src="" alt="thumbnail">
    </div>

    <input type="file" id="thumbnail">

    <script src="./main.js"></script>
</body>

</html>
Here is the JavaScript code for this example.
          const input = document.getElementById('thumbnail')

// List to change event on the input element to get the image file
input.addEventListener('change', (event) => {
    const image = event.target.files[0]

    // Create file reader object
    const reader = new FileReader()

    // Convert image to data URL
    reader.readAsDataURL(image)

    reader.addEventListener('load', () => {
        // Save data URL to local storage
        localStorage.setItem('thumbnail', reader.result)
    })
})

// Loading the stored image to the web page
document.addEventListener('DOMContentLoaded', () => {
    // Get the image (data URL) from local storage
    const thumbnail = localStorage.getItem('thumbnail')

    const previewImage = document.getElementById('preview')

    if (thumbnail) {
        // If there is an image in the local storage, set the data URL as the src attribute value
        previewImage.setAttribute('src', thumbnail)
    } else {
        // If there is no image in the local storeage, you can display a default image (Optional)
        previewImage.setAttribute('src', 'default.jpg')
    }
})
Getting an Image File From The Input Field
Before storing an image, you need to get the file. You can use the <input> element to select a file.
When you select an image file, JavaScript will fire a change event. Listen to that event and get the selected file from the <input> element.
          <div>
    <input type="file" id="thumbnail">
</div>
Here I have an <input> element with an id. I can use this id value to grab this element using JavaScript and listen to the change event.
Inside the event callback function, you will have access to the event object with the selected file.
          const input = document.getElementById('thumbnail');

input.addEventListener('change', (event) => {
    const image = event.target.files[0];

});
The event object has a target property which has a files property. As we are uploading one image file, it will be at index 0.
You can perform file extension validation in JavaScript to confirm that the selected file is an image.
There are also other file validation methods in JavaScript that you should consider. Like you should check for the file size. Because you can only store between 2 MB to 10 MB in the localStorage.
Converting The Image File Into a Data URL
It's time to convert the image into a data URL after you have the file. Because we can not directly save an image in the localStorage.
You can only store string data in it. JavaScript has the FileReader() constructor function that can convert your image into a data URL.
          const input = document.getElementById('thumbnail');

input.addEventListener('change', (event) => {
    const image = event.target.files[0];

    const reader = new FileReader();

    reader.readAsDataURL(image);

});
When we call this constructor function, it returns an object. Now to get the data URL from your image, you need to call the readAsDataURL() method from the reader object.
This method will accept the image file as its argument. Now, you can get the data URL string from the reader object.
Also Read: Get File Extensions in JavaScript: 3 Easy Ways For You
Saving The Data URL String in localStorage
After converting the image file into a string. We will get the string and save it in the localStorage using setItem() method.
When we call the readAsDataURL() method with our image file and the conversion is finished, this method fires the load event.
          const input = document.getElementById('thumbnail');

input.addEventListener('change', (event) => {
    const image = event.target.files[0];

    const reader = new FileReader();

    reader.readAsDataURL(image);

    reader.addEventListener('load', () => {
        localStorage.setItem('thumbnail', reader.result);
    });
});
You can use the addEventLister() method to listen to the load event. When we get this event it means we have our data ready on the reader object.
Inside the event callback function, we can access the data URL string using the result property in the reader object.
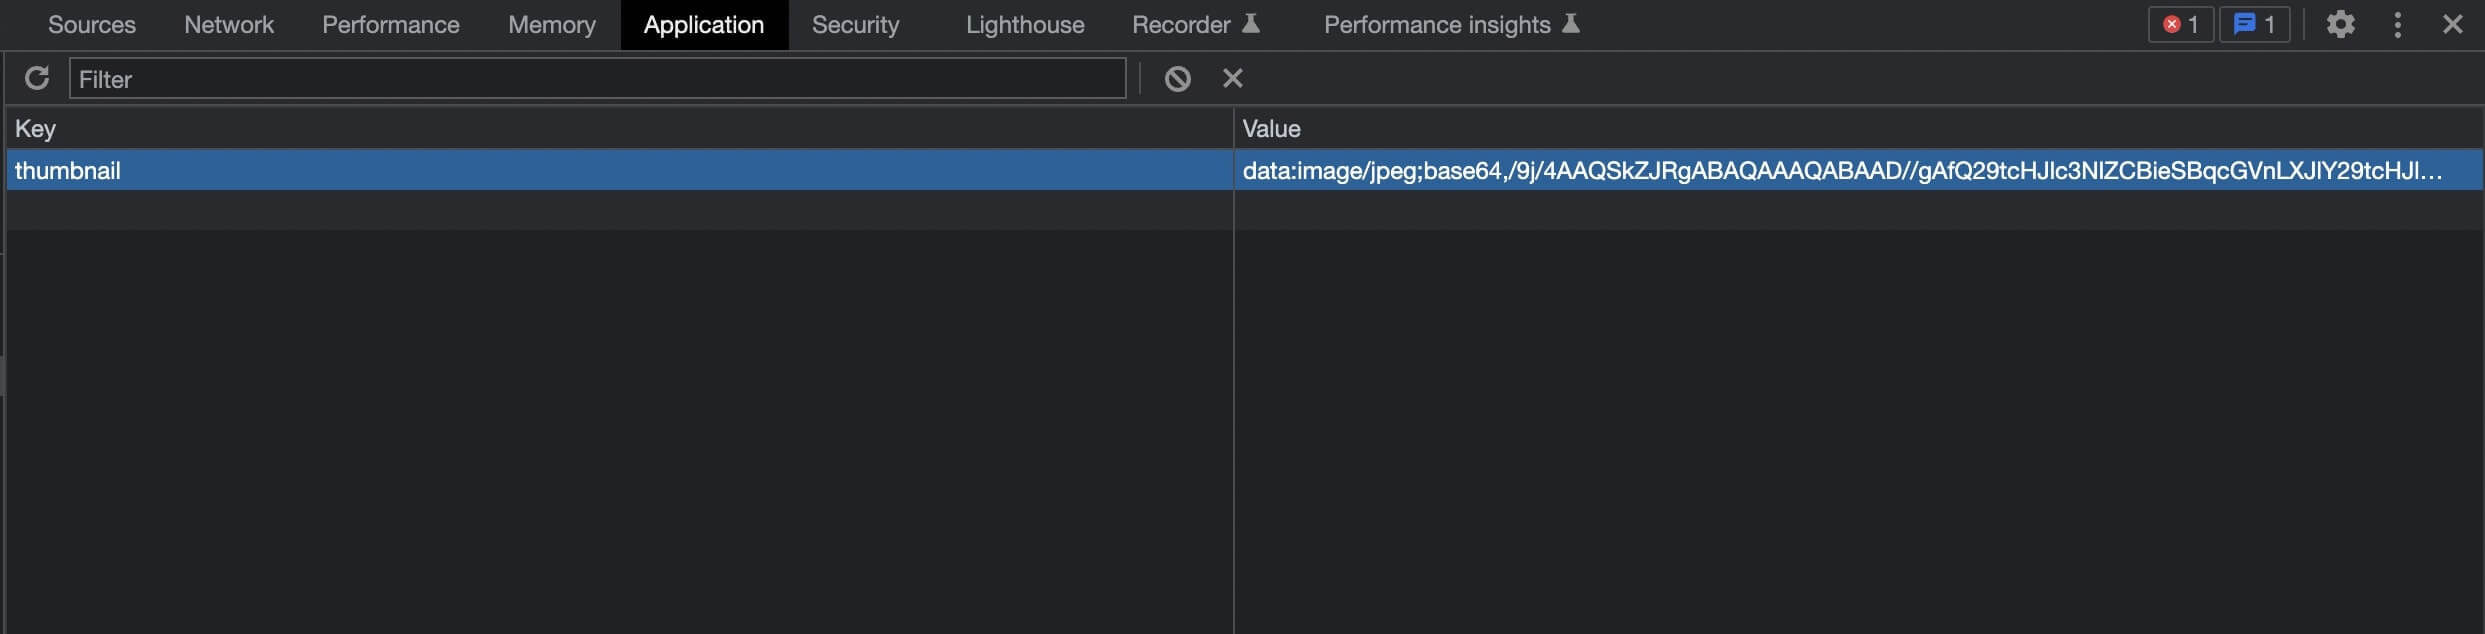
I am saving that string in the localStorage with the thumbnail key. When you want to get this data from the localStorage, you will use this key.
Loading Image From localStorage to The Web Page
You have to access the image stored in the localStorage using the key. When we save anything to the localStorage, we do it as a key/value pair.
When you call the getItem() method by passing a key as its argument, it returns the value associated with that key.
          <div>
    <img id="preview" src="" alt="thumbnail">
</div>
I have a <img> tag without the src value in my HTML file where I want to display the image. Using JavaScript, I will set the src value dynamically.
In the previous section, we stored a single image with the thumbnail key. Let's see how to get this image and display it on the webpage.
          const thumbnail = localStorage.getItem('thumbnail');

const previewImage = document.getElementById('preview');

if (thumbnail) {
    previewImage.setAttribute('src', thumbnail);
} else {
    previewImage.setAttribute('src', 'default.jpg');
}
I am getting the image data URL from the localStorage by giving the key to the getItem() method.
If the localStorage has the data with the thumbnail key, I will use it as the src value of our <img> tag. But if there is no data in the storage, you can set a default image.
Also Read: How to Remove Elements From an Array in JavaScript
Save Multiple Images in localStorage Using JavaScript
In the previous section, you have seen how to store a single image in the localStorage. But you can also select multiple images using the <input> tag.
Therefore you can save an array in the localStorage with multiple images. Let's see how to do this in this section.
          <!DOCTYPE html>
<html lang="en">

<head>
    <meta charset="UTF-8">
    <meta name="viewport" content="width=device-width, initial-scale=1.0">
    <title>Save Images to localStorage</title>
</head>

<body>
    <h1>Save Multiple Images to localStorage</h1>

    <div id="images"></div>

    <input type="file" id="thumbnail" multiple>

    <script src="./main.js"></script>
</body>

</html>
To select multiple images, you have to set the multiple attribute in your <input> element.
          const input = document.getElementById('thumbnail')

input.addEventListener('change', (event) => {
    // Getting images from the input element
    const images = event.target.files

    for (const image of images) {
        const reader = new FileReader()

        // Convert each image to a data URL
        reader.readAsDataURL(image)

        reader.addEventListener('load', () => {
            // Getting existing images from the localStorage
            const imagesArray = localStorage.getItem('images')

            let images = []

            if (imagesArray) {
                images = [...JSON.parse(imagesArray)]

                images.push(reader.result)
            } else {
                images.push(reader.result)
            }

            // Save the array of images to localStorage
            localStorage.setItem('images', JSON.stringify(images))
        })
    }
})
It will return an array of image files in the event.target.files property. You can loop through those files using the for...of statement and convert each image file into a data URL inside this loop.
When a data URL is ready, I get the previous array of images from localStorage (if there is any) using the images key in the getItem() method.
If we get the array from the getItem() method, we will parse the value with JSON.parse() method. Because this method will return the array as a string.
Then we will copy the array items in the images array using the spread operator in JavaScript. Now we can push the new data URL to this array from reader.result property.
If there is no previously saved data in the localStorage, we can directly push our new data URL to the images array.

Finally, we can save the images array to our localStorage using setItem() method with the images key. But we have to convert the array into a string with JSON.stringify() method.
Display the array of images on the web page from your localStorage.
          const displayImages = document.getElementById('images')

// Getting all the images from localStorage
const images = JSON.parse(localStorage.getItem('images'))

images.forEach((image) => {
    displayImages.innerHTML += `
        <div style="width: 500px;">
            <img style="width: 100%" src="${image}">
        </div>
    `
})
If you want to display the array of images, you again have to parse the value that getItem() returns using the JSON.parse() method.
Because we converted the array into a string. This method will convert the string into an array again. Now you can loop through the array and display the images accordingly.
Conclusion
It is a 3 steps process from getting an image file to saving it to the localStorage. You have seen each of them in detail with code samples.
The main limitation of this process is the storage capacity in the localStorage. You can't store as many images as you want. It allows data size from 2 MB to 10 MB.
That's why you should check the file size before saving the image in the localStorage using JavaScript.
