When we select multiple images for uploading to a server, it's good to know which images we have selected. You can add this feature to your website by displaying the selected images.
Get all the image files using JavaScript and loop through those files with for…of statement. Convert each file into a data URL by calling FileReader() constructor function.
Then create <img> element and use that data URL as its src value. Finally, add the element to the DOM.
We can use the same steps that we have applied to preview a single image with JavaScript before uploading it to the server.
Preview Multiple Images Before Uploading Using JavaScript
To accept files with an <input> element, you have to set type="file" as its type. It will allow one file at a time. But our goal is to accept multiple files.
You also need to use the multiple attribute with the <input> element. This will tell the browser to allow many files simultaneously.
With this, a user can choose any types of file they want. Now it's up to you to validate the file type in JavaScript so that users only select images.
There are 3 simple steps to preview multiple images using JavaScript:
- Create the page layout with CSS style to select and display images.
- Convert all the images into data URLs using
FileReader()constructor function. - Create a dynamic
<img>element for each file and add it to the DOM.
Let's look into each step in detail with examples.
Step 1: Create a Web Page Layout With HTML and CSS
I am creating an HTML structure with an <input> element. Users can choose image files by clicking on this element. I also have another section to show the total number of files selected and preview those images.
          <div class="container">
    <!-- Input element to choose images -->
    <input type="file" id="select-image" multiple>
    <label for="select-image">
        <?xml version="1.0" ?><svg viewBox="0 0 1792 1792" xmlns="http://www.w3.org/2000/svg">
            <path
                d="M1344 1472q0-26-19-45t-45-19-45 19-19 45 19 45 45 19 45-19 19-45zm256 0q0-26-19-45t-45-19-45 19-19 45 19 45 45 19 45-19 19-45zm128-224v320q0 40-28 68t-68 28h-1472q-40 0-68-28t-28-68v-320q0-40 28-68t68-28h427q21 56 70.5 92t110.5 36h256q61 0 110.5-36t70.5-92h427q40 0 68 28t28 68zm-325-648q-17 40-59 40h-256v448q0 26-19 45t-45 19h-256q-26 0-45-19t-19-45v-448h-256q-42 0-59-40-17-39 14-69l448-448q18-19 45-19t45 19l448 448q31 30 14 69z" />
        </svg>
        Choose Images
    </label>

    <div class="preview_image">
        <!-- It will show the total number of files selected -->
        <p><span id="total-images">0</span> File(s) Selected</p>

        <!-- All images will display inside this div -->
        <div id="images"></div>
    </div>
</div>
This will not look good in the browser. I will add some CSS styles to it. You can use your own styles if you want. Otherwise, copy and paste the following code.
          body {
    display: flex;
    justify-content: center;
    align-items: center;
    min-height: 100vh;
    background-color: #fdfdfd;
    font-family: 'Open Sans', sans-serif;
}

.container {
    width: 500px;
    padding: 35px;
    display: flex;
    flex-direction: column;
    justify-content: center;
    align-items: center;
    border-radius: 15px;
    background: #ffffff;
    box-shadow: rgba(99, 99, 99, 0.2) 0px 2px 8px 0px;
    -webkit-border-radius: 15px;
    -moz-border-radius: 15px;
    -ms-border-radius: 15px;
    -o-border-radius: 15px;
}

#select-image {
    display: none;
}

label {
    display: flex;
    align-items: center;
    background: #025bee;
    padding: 18px 30px;
    color: #ffffff;
    border-radius: 5px;
    -webkit-border-radius: 5px;
    -moz-border-radius: 5px;
    -ms-border-radius: 5px;
    -o-border-radius: 5px;
}

label svg {
    fill: #ffffff;
    width: 20px;
    height: 20px;
    margin-right: 8px;
}

.preview_image p {
    text-align: center;
}

#images {
    display: flex;
    gap: 15px;
    flex-wrap: wrap;
    justify-content: space-between;
}

.image_box {
    width: 45%;
}

img {
    width: 100%;
}

.image_name {
    display: block;
    font-size: 14px;
    text-align: center;
}
Now open our HTML file in the browser to see how it looks.
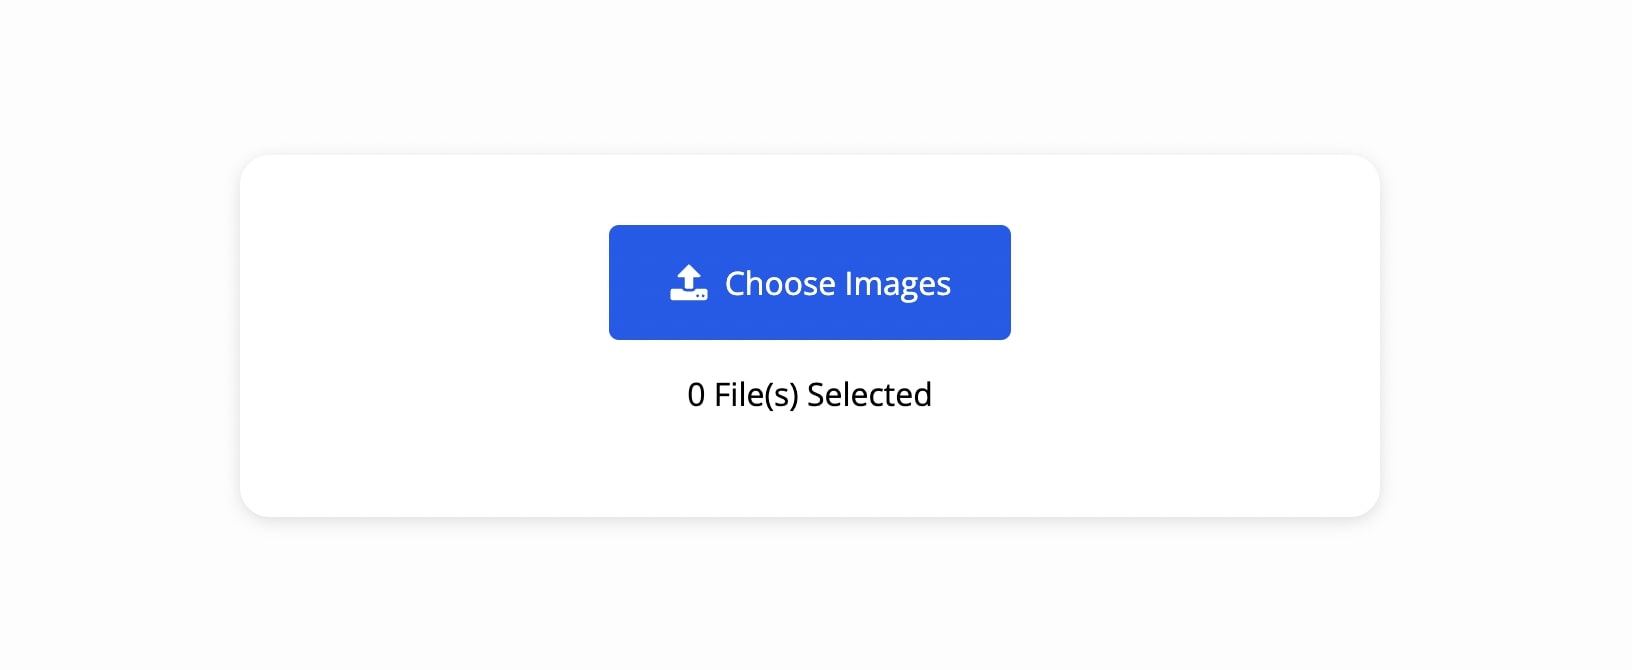
Now we can click the button and choose as many image files as we want. In the next steps, I will show you how to preview them on the page.
Let's continue...
Step 2: Convert Image Files Into a Data URL
It's time to convert images into data URLs using JavaScript to show them on a webpage. JavaScript has a built-in constructor function to do so.
Listen to the change event on the <input> element to get the selected files. You can perform file validation checks to confirm these are image files.
          const fileInput = document.getElementById('select-image');
const images = document.getElementById('images');
const totalImages = document.getElementById('total-images');

// Listen to the change event on the <input> element
fileInput.addEventListener('change', (event) => {
    // Get the selected image file
    const imageFiles = event.target.files;

    if (imageFiles.length > 0) {
        // Loop through all the selected images
        for (const imageFile of imageFiles) {
            const reader = new FileReader();

            // Convert each image file to a string
            reader.readAsDataURL(imageFile);

            // FileReader will emit the load event when the data URL is ready
            // Access the string using reader.result inside the callback function
            reader.addEventListener('load', () => {
                // Create new <img> element and add it to the DOM
            });
        }
    } else {
        // Empty the images div
    }
});
After getting all the files from the event.target.files property, loop through them with for...of statement. You have access to each image inside this loop.
Call the FileReader() constructor function. It will return an object. Now call the readAsDataURL() method from that object with the image file. This method will convert an image to a data URL string.
To get the converted URL string, listen to the load event on that reader object. You can access the string from reader.result property inside this event callback function.
You can save an image to localStorage by storing this URL string or you can display it on the page. In the next section, I will show you how to do it.
Step 3: Display Uploaded Image Files With JavaScript
It is very easy to preview an image using a data URL. You just have to create an <img> element and use the URL string as its src value. When we add this element to the DOM, browsers will display the image.
There are many ways to create dynamic HTML elements in JavaScript but we will use innerHTML property and template literal in this example.
          const fileInput = document.getElementById('select-image');
const images = document.getElementById('images');
const totalImages = document.getElementById('total-images');

// Listen to the change event on the <input> element
fileInput.addEventListener('change', (event) => {
    // Get the selected image file
    const imageFiles = event.target.files;

    // Show the number of images selected
    totalImages.innerText = imageFiles.length;

    // Empty the images div
    images.innerHTML = '';

    if (imageFiles.length > 0) {
        // Loop through all the selected images
        for (const imageFile of imageFiles) {
            const reader = new FileReader();

            // Convert each image file to a string
            reader.readAsDataURL(imageFile);

            // FileReader will emit the load event when the data URL is ready
            // Access the string using reader.result inside the callback function
            reader.addEventListener('load', () => {
                // Create new <img> element and add it to the DOM
                images.innerHTML += `
                <div class="image_box">
                    <img src='${reader.result}'>
                    <span class='image_name'>${imageFile.name}</span>
                </div>
            `;
            });
        }
    } else {
        // Empty the images div
        images.innerHTML = '';
    }
});
I am showing the total number of files selected by accessing the length of the imageFiles array. Then empty the images element to remove any previous image files.
Now use innerHTML property from the images element and add new HTML elements to it. I am creating <img> element with reader.result data URL as its src attribute value.
I am also showing the file name below the image using the name property. It will create this new div and add it to the DOM for each selected image.
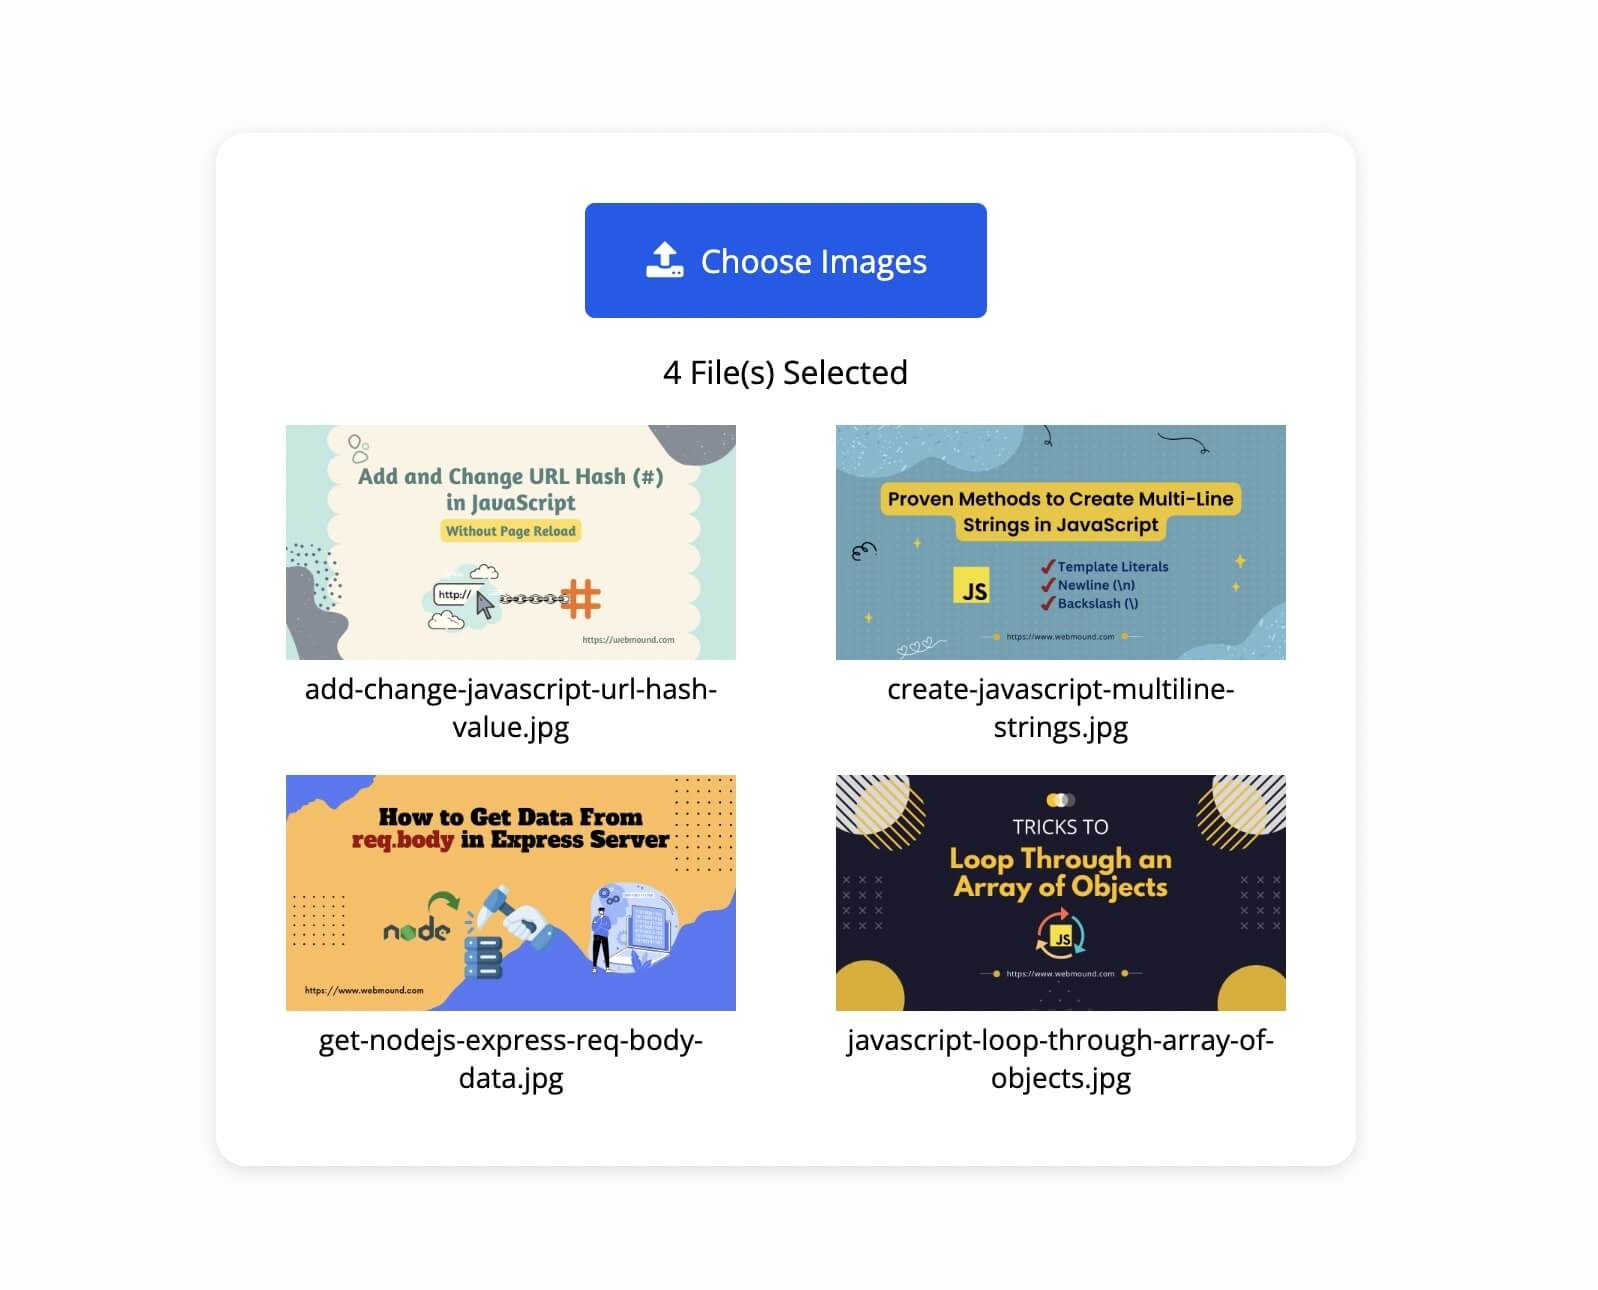
Check your web page on the browser. When we choose images, our application preview those images on the page along with their names.
Now you can add another button to upload those images to the server.
Conclusion
With this feature, users can see the images they have selected before sending them to the server. If they choose any wrong image, they will change them. It's a great user experience.
If your website handles image uploads, you must add this feature to it so that your users can preview their selected images before uploading.
