Styling a <textarea> is not the same as styling an HTML <input> because both have different types of usages. We use <textarea> when we need to write multiple lines of text.
That's why sometimes it seems difficult to style a <textarea> and also does not match with other <input> boxes. Textarea also has some extra things to handle and customize like, scrollbar, font, and placeholder, we can resize the textarea, etc.
In this article, you will learn how you can style HTML <textarea> very easily. You will get detailed information about this topic.
How to Style Textarea Placeholder
You can use many attributes with this <textarea> tag. For example, title, cols, rows, wrap, etc. You will find a list of attributes that <textarea> accepts at the end of this article.
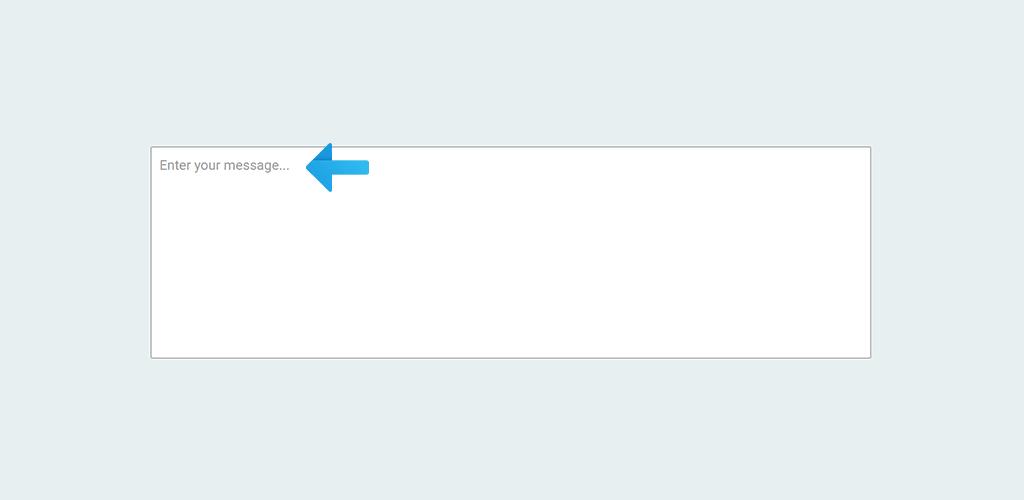
In order to, add a placeholder like any other <input> tag you have to use placeholder attribute in <textarea>.
<textarea placeholder="Enter your message..." cols="25" rows="5"></textarea>
To add style to the placeholder in <textarea> you can use the following code. We select ::placeholder in the CSS file to add any style to the placeholder.
          /* Modern Browsers */
textarea::placeholder {
    font-size: 1rem;
    color: #9c9c9c;
    font-family: 'Roboto', sans-serif;
}

/* WebKit, Edge */
textarea::-webkit-input-placeholder {
    font-size: 1rem;
    color: #9c9c9c;
    font-family: 'Roboto', sans-serif;
}

/* Firefox 4-18 */
textarea:-moz-placeholder {
    font-size: 1rem;
    color: #9c9c9c;
    font-family: 'Roboto', sans-serif;
}

/* Firefox 19+ */
textarea::-moz-placeholder {
    font-size: 1rem;
    color: #9c9c9c;
    font-family: 'Roboto', sans-serif;
}

/* IE 10-11 */
textarea:-ms-input-placeholder {
    font-size: 1rem;
    color: #9c9c9c;
    font-family: 'Roboto', sans-serif;
}

/* Edge */
textarea::-ms-input-placeholder {
    font-size: 1rem;
    color: #9c9c9c;
    font-family: 'Roboto', sans-serif;
}
Most of the modern browsers support just ::placehoder but to support other browsers we can use other versions like, -ms-, -moz-, -webkit- etc.
In the demo, I have used font-size, color, and font-family but you can use any CSS style you want. From now on you can customize your textarea placeholder according to your need.
Also Read: Async VS Defer - When & How to Use Async Defer in HTML Script Tag
How to Style Text in Textarea
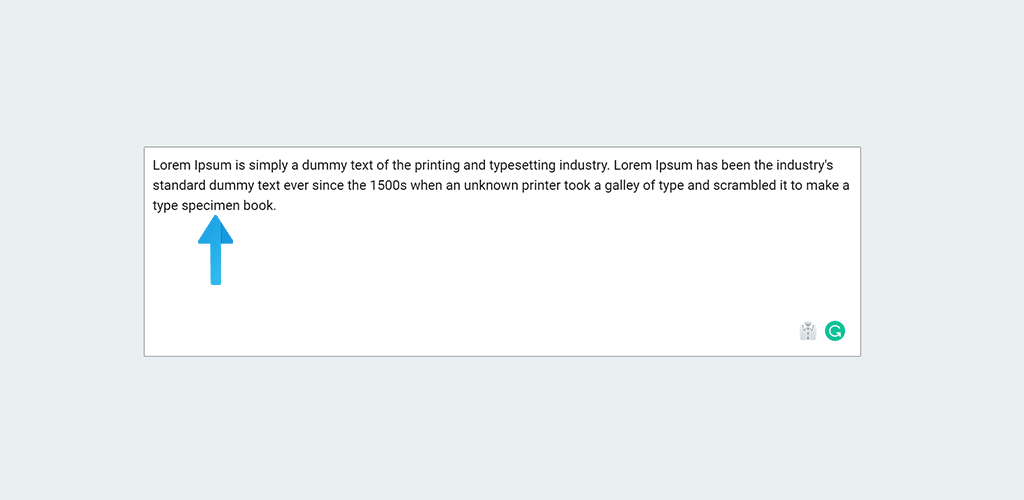
You can style text inside textarea similarly as you can do with any other HTML inputs. You can also use any CSS property like font-size, font-family, color, etc.
To add the fonts to your website Google Fonts would be a great choice because they provide a lot of options and this is absolutely free. When someone writes text inside <textarea> then the text will use that font.
          textarea {
    font-size: 1rem;
    line-height: 1.5em;
    font-family: 'Roboto';
}
How to Add Default Text in Textarea
You can add default text in your <textarea> input. This text will be shown automatically inside textarea input box. Users can change that or completely replace it with their own text.
This is especially helpful if users have to write a similar type of text all the time. In this case, you can set a default text and users will edit the default text. It will save them time.
To add default text in textarea input you just have to place your text in between the opening tag <textarea> and closing </textarea>. It is done.
<textarea>This is the default text. User will see this text automatically.</textarea>
Remove Resize Handler in Textarea

By default, browsers add resize handler in <textarea> to the bottom right corner. You can click and drag to increase or decrease the size of the textarea input.
If you don't need this feature, you can disable this with just one line of CSS.
          textarea {
    resize: none;
}
How to Resize Textarea Vertically
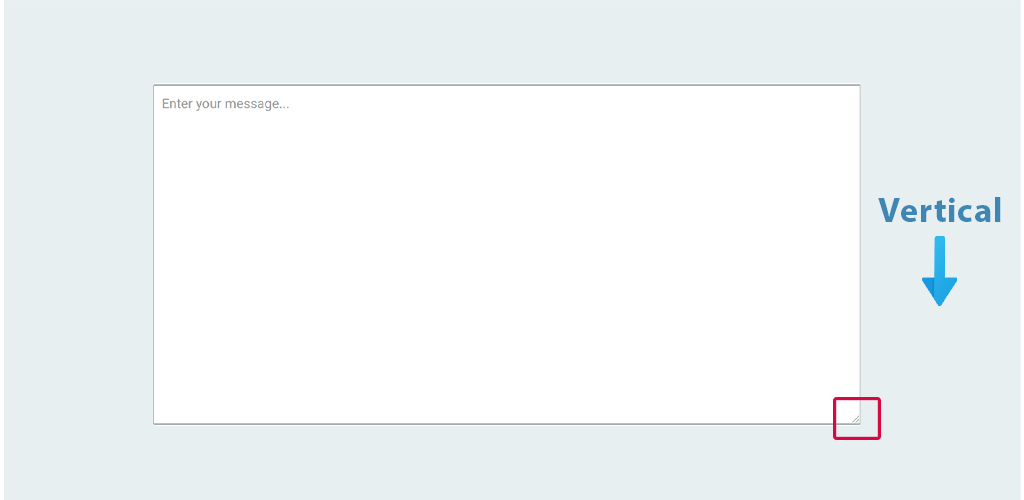
If you don't want to remove the resize handler completely then you have other options as well. You can allow your users to resize the <textarea> vertically.
If you add the following CSS property then users will be able to resize your textarea only vertically.
          textarea {
    resize: vertical;
}
How to Resize Textarea Horizontally
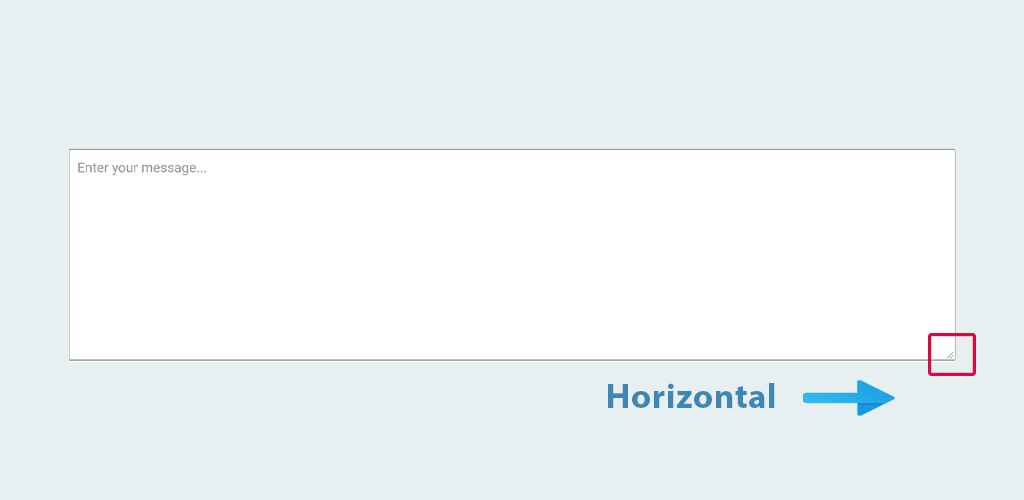
On the other hand, if you don't want to change the size of your <textarea> vertically but horizontally, you can do that too.
Following CSS property will make your textarea horizontally resizable.
          textarea {
    resize: horizontal;
}
How to Remove The Glow Around Textarea
In most browsers, when you focus or write inside the <textarea> a glow or border appears. Some people like it but some don't.
If this glow border does not fit with your design and you want to remove it, you can do that.
          textarea {
    outline: none;
}
You can also apply this style using :focus pseudo-class as well both work the same.
          textarea:focus {
    outline: none;
}
Textarea Nowrap
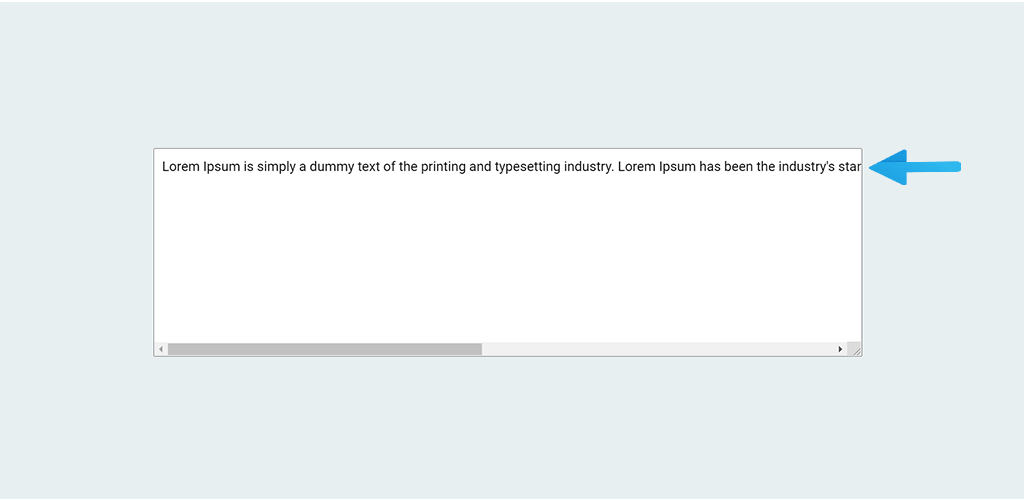
Normally we use white-space: nowrap; to prevent text from wrapping. In this way, you can write in an input box as long as you want without any line breaks. The browser will show a horizontal scrollbar.
You can customize this default scrollbar if you want. I will show you how you can style textarea scrollbar in the next sections.
When you press Enter, you move to the next line. But this CSS property does not work with <textarea>. To get a similar result, you have to use the wrap="off" attribute in your <textarea> input.
<textarea wrap='off' placeholder='Enter your message...'></textarea>
How to Make Textarea Responsive
You can make the <textarea> responsive in many ways. As you have seen, you can control resize handler in textarea.
You can also apply width, height, min-width, max-width, min-height and max-height properties to make it responsive.
          textarea {
    width: 100%;
    max-width: 900px;
}
In the above code, we have set width: 100%; so by default textarea will take the full area. But max-width: 900px; means textarea will not be bigger than 900px.
If screen size increases, textarea size will increase up to 900px not more than that. It is also helpful if you set resize: horizontal;.
Users can resize textarea input but when you set max-width: 900px; users will be able to increase the textarea up to 900px. You can also set min-width if you want. Then users will not be able to decrease the size more than that.
          textarea {
    height: 300px;
    min-height: 200px;
    max-height: 500px;
}
It also works a similar way when you use the height property. Here default height of the <textarea> will be 300px.
But when you set resize: vertical; then users will be able to increase its height up to 500px and decrease its height up to 200px.
How to Style Scrollbar in Textarea
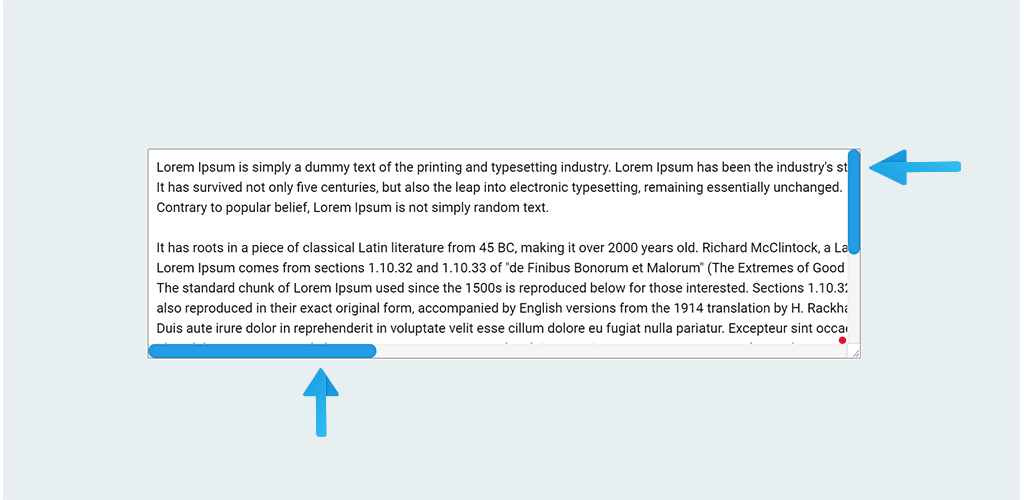
When we add height to the <textarea> and users write multiple lines of text then the browser shows a default scrollbar. Scrollbar may come horizontally and vertically.
If you don't like the default look of those, you can style them according to your need. You can change their color, width, background, etc. And you don't have to do this separately. You can customize both of them at the same time.
          textarea::-webkit-scrollbar {
    width: 15px;
    background-color: #f5f5f5;
    box-shadow: inset 0 0 2px rgba(0, 0, 0, 0.1);
    -moz-box-shadow: inset 0 0 2px rgba(0, 0, 0, 0.1);
    -webkit-box-shadow: inset 0 0 2px rgba(0, 0, 0, 0.1);
}

textarea::-webkit-scrollbar-thumb {
    border-radius: 10px;
    background-color: #249de4;
    box-shadow: inset 0 0 6px rgba(0, 0, 0, 0.1);
    -moz-box-shadow: inset 0 0 6px rgba(0, 0, 0, 0.1);
    -webkit-box-shadow: inset 0 0 6px rgba(0, 0, 0, 0.1);
    -webkit-border-radius: 10px;
    -moz-border-radius: 10px;
    -ms-border-radius: 10px;
    -o-border-radius: 10px;
}
This will add a custom scrollbar to your <textarea> input on both sides. Here, textarea::-webkit-scrollbar will style the background of the scrollbar and textarea::-webkit-scrollbar-thumb will style the scrollbar thumb, the part that moves.
But the above code will not work on the Firefox browser. Don't worry you have another option.
          textarea {
    scrollbar-width: thin;
    scrollbar-color: #249de4 #f5f5f5;
}
You should add this code along with the above code then users will be able to see a custom scrollbar in both Chrome and Firefox browsers.
Firefox does not provide much customization options as Chrome does. You can not set a custom width for the scrollbar. The property scrollbar-width accepts only 3 values auto, thin, and none.
Here, auto is the default value and none will remove your scrollbar in the Firefox browser. This is also an experimental technology. So I would suggest you not use this part on your main website.
If you want to know more about scrollbars, you can follow our ultimate guide on scrollbar customization.
Also read: Ultimate Guide to Create Custom Scrollbars in CSS
But you can use 1st part textarea::-webkit-scrollbar and textarea::-webkit-scrollbar-thumb, this will work just fine.
How to Remove Default Scrollbars in Internet Explorer
Internet Explorer adds a vertical scrollbar by default in the textarea even if there is no text in it. It does not look good.
You can hide the default scrollbar using overflow: hidden; property. But the problem is you don't get any scrollbar at all when a user writes multiple lines of text. So, it is not an ideal solution.
Therefore, we should use overflow: auto; this to remove the default scrollbar and it appears when needed.
          textarea {
    overflow: auto;
}
All HTML Textarea Attributes
Here is the list of attributes that you can use in the HTML <textarea> tag.
| Attribute | Value | Description |
| autofocus | autofocus | It is a boolean attribute. Specifies that a textarea should automatically get focused when the page loads. |
| autocomplete | off/on | This attribute indicates whether the browser should automatically complete the value. |
| cols | number | The default value is 20. Specifies the visible width of the textarea. |
| rows | number | It specifies the number of the visible text line in the textarea. |
| disabled | disabled | It is a boolean attribute. It makes the textarea disabled. |
| form | form_id | The value of this attribute should be id of any form element in the same document. It specifies to which form this textarea belongs. |
| maxlength | number | It specifies the maximum number of characters a user can enter. |
| minlength | number | It specifies the minimum number of characters a user should enter. |
| name | text | It specifies a name for the textarea. It helps to get the data after form submission. |
| placeholder | text | It specifies a short hint to the user of what should be entered in the textarea. |
| readonly | readonly | It is a boolean attribute. Specifies that users only can read the input value. The value of a readonly input is still submitted with the form. |
| required | required | This attribute specifies that the user must enter a value before submitting the form. |
| spellcheck | true/false | This attribute specifies whether the browser/OS should check its spelling and grammar or not. |
| wrap | soft/hard/off | The default value is soft. It indicates how the text in a textarea should be wrapped while submitting the form. |
Conclusion
In this article, we have seen multiple ways how you can style your HTML textarea. I hope from now on you will be able to customize your textarea input according to your need.
